
Drywall Finishing Levels: What Each Stage Actually Means for Your Walls
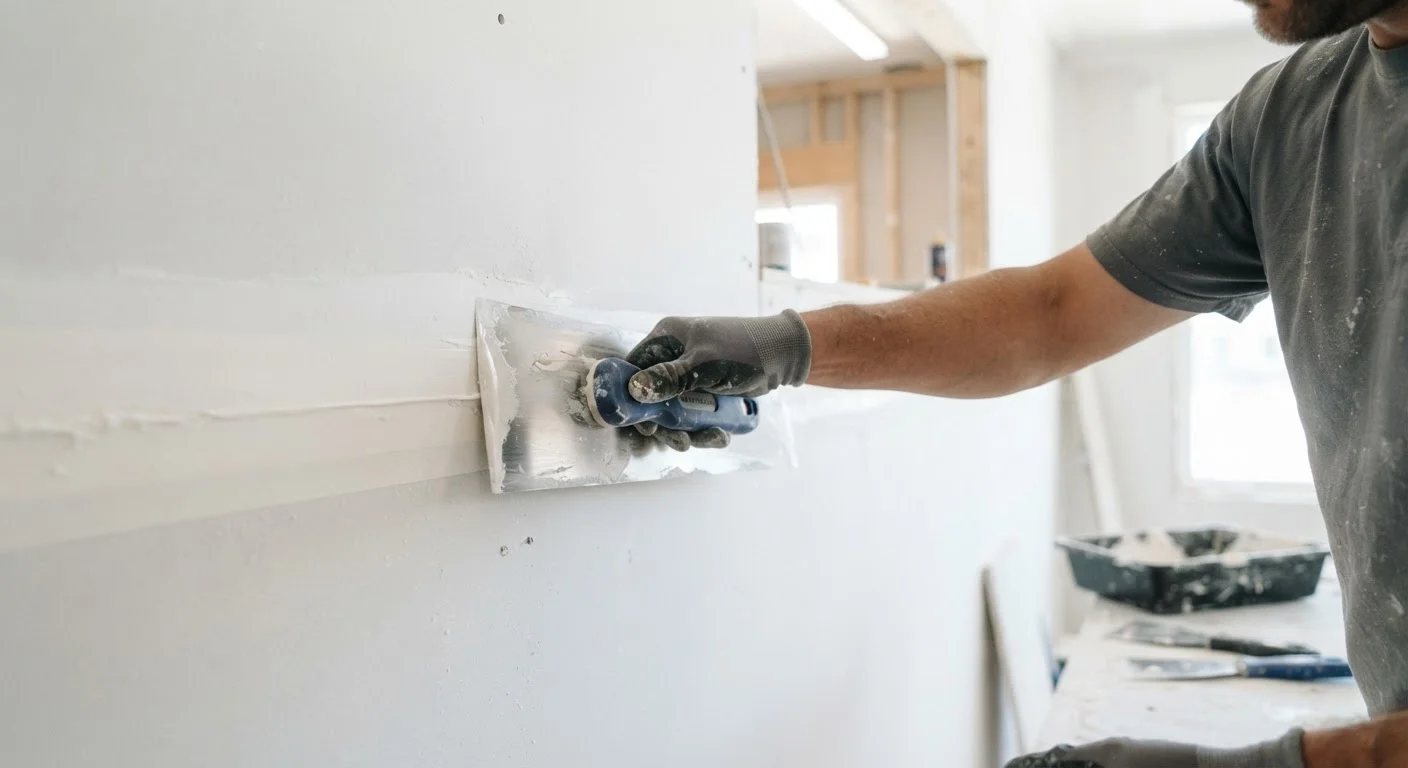
Photo credit: FaqsInsights.com | Stay Informed, Stay Ahead
Drywall finish levels range from 0 to 5. Here's what each level entails, where each is appropriate, and why it matters for your paint or texture finish.
The Six Levels of Drywall Finish, Explained
Drywall finishing is standardized across the construction industry into six levels - Level 0 through Level 5 - defined by the Gypsum Association. Each level describes a specific degree of surface preparation, and choosing the wrong one for your application can lead to paint failures, visible imperfections, or unnecessary expense.
- Level 0
- No finishing whatsoever. Panels are hung but joints, fasteners, and edges are left bare. This level is used only in temporary construction or where final finish decisions haven't been made yet.
- Level 1
- Joint tape is embedded in compound at all joints and interior angles. Tool marks and ridges are acceptable. This is the minimum standard for spaces permanently concealed above fire-rated ceilings or in attics - areas no one will see.
- Level 2
- All joints and angles receive tape plus one coat of compound, wiped smooth. Fastener heads get one coat. This level is appropriate for garages, warehouses, and areas that will receive a heavy texture (such as skip trowel or heavy orange peel) applied over them.
- Level 3
- Joints and angles are taped and receive two coats of compound; fasteners get two coats. Surfaces are smooth enough for a medium to heavy spray texture. Not recommended under flat paint or smooth finishes, as tool marks may telegraph through.
- Level 4
- Three coats of compound over joints and angles, two coats over fasteners, and all surfaces sanded smooth. This is the standard for most residential interiors that will receive flat, satin, or eggshell paint with light texture or no texture. The vast majority of homes are finished to this level.
- Level 5
- Everything from Level 4, plus a skim coat of compound applied over the entire surface. This creates an exceptionally uniform, glassy finish. Required anywhere high-gloss, semi-gloss, or strong raking light will be present - such as a formal dining room or a wall with dramatic side lighting.
Matching the Level to Your Project
Selecting the right finish level isn't about quality for its own sake - it's about matching surface preparation to the final application. Here's a practical framework for making that decision.
Joint Compound
A plaster-like material (sometimes called 'mud') applied over drywall seams, corners, and fasteners to create a smooth, continuous surface. It can be purchased pre-mixed or as a powder requiring water.
Skim Coat
A very thin, uniform layer of joint compound spread across an entire wall surface. Used at Level 5 to eliminate any remaining texture variation before painting.
Raking Light
Light that strikes a wall at a shallow, oblique angle - from a window, sconce, or pendant fixture. It dramatically highlights surface imperfections that would otherwise be invisible under diffuse overhead lighting.
Tape Embedding
The process of pressing paper or mesh drywall tape into wet joint compound over a seam. Proper embedding prevents the tape from bubbling, cracking, or separating as the wall dries.
Feathering
Gradually thinning the edges of applied joint compound so they blend imperceptibly into the surrounding surface. Good feathering is essential for avoiding visible ridges at Level 4 and above.
Orange Peel Texture
A light spray texture that mimics the dimpled surface of an orange peel. It's applied over a Level 3 finish to add visual interest and mask minor surface imperfections.
How Lighting Affects Your Choice
The most overlooked factor in finish selection is how light will strike the wall. Raking light - light that hits a surface at a low angle - is brutally revealing. Even a Level 4 finish can show subtle ridges or lap marks under a sconce or pendant fixture positioned close to a wall. In those situations, a Level 5 skim coat is the only reliable solution.
Paint Sheen Matters Too
Higher-sheen paints (semi-gloss, gloss) reflect light in ways that amplify surface imperfections. If you're painting with a flat or matte finish, a Level 4 finish is typically sufficient. Upgrade to Level 5 if you're using eggshell or higher in a room with large windows or deliberate accent lighting.
Texture as a Workaround
Applied textures - orange peel, knockdown, popcorn - physically hide surface irregularities. A Level 3 finish is generally adequate beneath heavy textures. This is why garages and utility areas routinely stop at Level 2 or 3: texture provides the visual masking that additional compound coats would otherwise achieve.
Permits and Inspections for Drywall Work
In most US jurisdictions, hanging and finishing drywall as part of a renovation that alters walls or adds living space may require a building permit and inspection. Always check with your local building department before starting work. Unpermitted drywall over structural, electrical, or plumbing elements can create safety issues and complications when selling your home.
When DIY Stops and a Pro Should Start
Levels 0 through 3 are manageable for experienced DIYers with proper tools and patience. Level 4 requires consistent technique across large surfaces and thorough sanding - still achievable with practice. Level 5 skim coating, however, demands significant skill and experience; uneven skim coats can look worse than no skim coat at all. If your project calls for Level 5, consider hiring a professional finisher for at least the final coat.

Author
Home & Garden Editorial Team
Home & Garden Editorial Team is the collective byline for our editorial team and contributor network. Articles published under this byline or an editorial pen name are researched, written, and reviewed according to our editorial standards for clarity, consistency, and independence before publication.
View all articles →