
Why Your Grout Keeps Cracking - And What's Actually Causing It
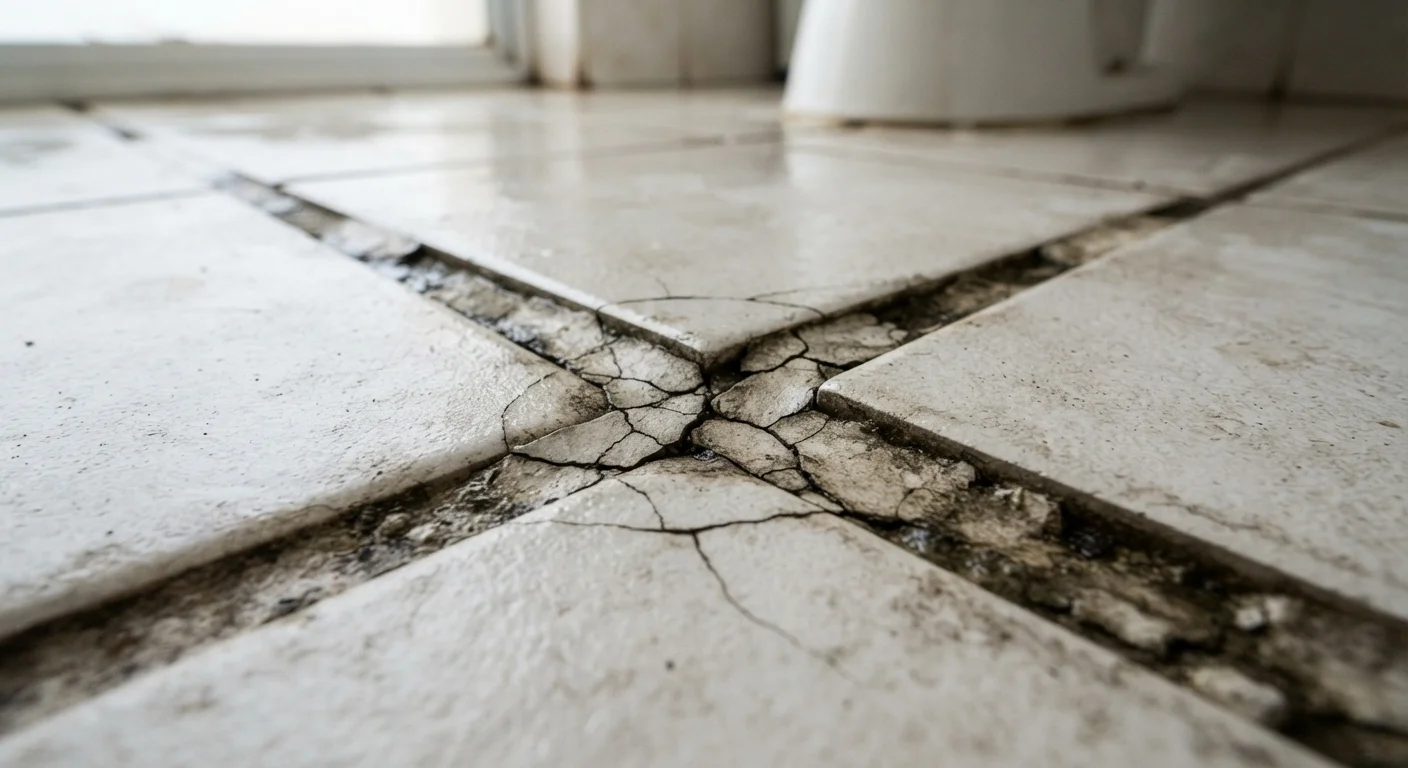
Photo credit: FaqsInsights.com | Stay Informed, Stay Ahead
In this article
Cracked grout isn't just cosmetic. Discover the structural and installation reasons behind recurring grout failure and how to address them properly.
Key Takeaways
- Cracked grout is frequently caused by installation errors, not just normal wear and tear.
- Movement in the substrate beneath tile is one of the most common and overlooked culprits.
- Using the wrong grout type or skipping proper curing dramatically shortens grout lifespan.
- Addressing root causes before regrouting prevents the same cracks from returning.
- Some recurring grout cracks may signal deeper structural issues worth professional evaluation.
Why Grout Failure Is Rarely Just a Surface Problem
When grout cracks once, it's easy to dismiss it as normal settling. When it keeps cracking - in the same lines, in the same corners, or across entire sections of tile - something structural or procedural is almost certainly wrong. Grout itself is not flexible; it's a cement-based filler designed to bridge gaps between rigid tile. Any force that causes movement, even minor and repeated movement, will eventually break it apart.
Understanding what's actually driving the failure is the only way to fix it for good. Regrouting over an unresolved problem is a temporary patch at best. Below, we walk through the most common mistakes that lead to chronic grout cracking - and what you can do about each one.
Installing tile over a substrate that flexes or moves under load.
Why it happens: Homeowners often tile over existing plywood, OSB, or older vinyl floors without adding a rigid, cement-based underlayment. Wood subfloors are inherently flexible and deflect with foot traffic.
Mixing grout too wet or applying it before the thinset mortar has fully cured.
Why it happens: Grout that's mixed with too much water weakens as it dries and shrinks unevenly. Similarly, grouting over uncured thinset traps moisture underneath, leading to premature cracking.
Using sanded grout in joints that are too narrow, or unsanded grout in joints that are too wide.
Why it happens: Many homeowners choose grout based on color availability rather than joint width. Unsanded grout in wide joints shrinks too much as it dries; sanded grout in narrow joints doesn't pack properly.
Skipping expansion joints at walls, corners, and changes in plane.
Why it happens: Tile installations expand and contract with temperature and humidity. Without soft joints at natural stress points, that movement has nowhere to go and grout bears the full load.
Failing to clean or prime a contaminated or dusty substrate before setting tile.
Why it happens: Thinset requires a clean, porous surface to bond properly. Dust, soap residue, old adhesive, or wax coatings all compromise adhesion - and when tiles shift even slightly, grout cracks follow.
When to Stop DIYing and Call a Professional
Most grout failures are fixable with careful prep and the right materials. But some patterns deserve a closer look before you pick up a grout float. If cracks are following the same diagonal lines across multiple tiles, if tiles themselves are cracking or popping loose, or if you're noticing similar fracture patterns in walls or floors elsewhere in the home, the problem may extend well beyond the tile work.
Regrouting Won't Fix a Movement Problem
If the underlying substrate is still flexible or the root cause hasn't been corrected, new grout will crack again - often within months. Before investing time and money in a regrout, take the time to identify and address what's causing the movement. Applying fresh grout over an active problem is a cosmetic fix only.
Cracks that radiate outward from corners, or that reappear within weeks of a fresh repair, can sometimes indicate movement in the home's foundation or framing. This is especially worth investigating in older homes, in rooms over crawl spaces, or after significant water intrusion. For a thorough look at how to assess and document structural concerns, see our homeowner's guide to foundation issues.
~80%
Tile failures traced to installation errors
Industry estimates from the Tile Council of North America suggest the large majority of tile and grout failures stem from improper installation rather than defective materials.
1/8"
Critical joint width threshold for grout type
This is the widely recognized dividing line between sanded and unsanded grout applications per standard installation guidelines.
When in doubt, a licensed tile contractor or structural inspector can distinguish between a grout problem and something requiring more involved remediation. That evaluation is almost always worth the cost before committing to a full retile.

Author
Home & Garden Editorial Team
Home & Garden Editorial Team is the collective byline for our editorial team and contributor network. Articles published under this byline or an editorial pen name are researched, written, and reviewed according to our editorial standards for clarity, consistency, and independence before publication.
View all articles →