
Planning a Bathroom Remodel: A Room-by-Room Framework for First-Timers
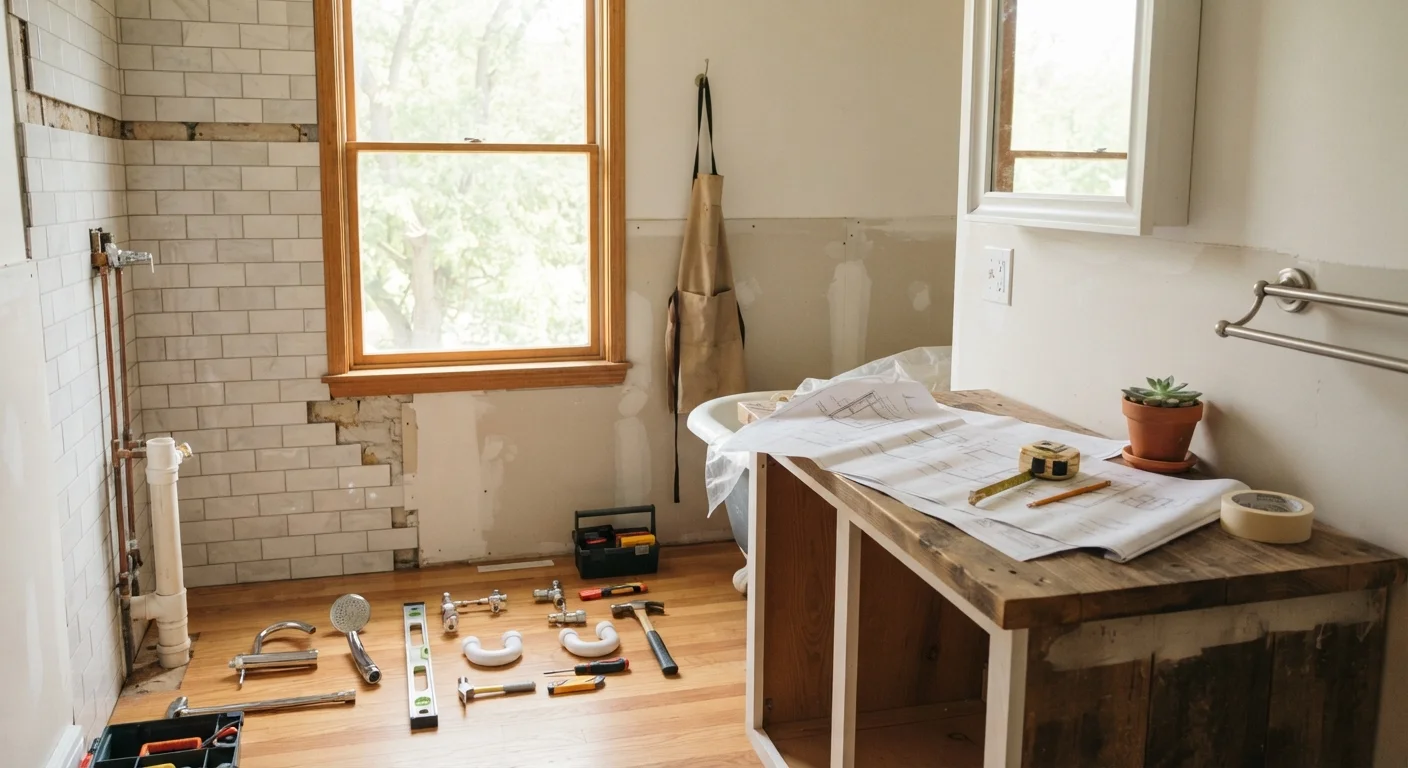
Photo credit: FaqsInsights.com | Stay Informed, Stay Ahead
In this article
From layout decisions to sequencing trades, this guide walks first-time remodelers through the key stages of a bathroom renovation project.
Key Takeaways
- Bathroom remodels are more complex than surface updates because they involve multiple licensed trades working in sequence.
- Moving plumbing fixtures dramatically increases project cost and complexity - staying close to existing drain locations saves money.
- Permits are typically required for plumbing, electrical, and structural changes; skipping them can create legal and resale problems.
- Trade sequencing - the order in which contractors work - directly affects quality and cost; getting it wrong can mean expensive rework.
- A realistic contingency budget of 15-20% helps absorb the surprises that nearly every remodel reveals.
Why Bathrooms Require Their Own Planning Logic
Bathrooms are among the most technically demanding rooms to renovate, despite being among the smallest. In a compact footprint, you're coordinating plumbing, electrical, waterproofing, ventilation, and finish work - often with multiple licensed trades working in a strict sequence. A cosmetic refresh (new paint, updated hardware) is well within reach for most homeowners. A full gut renovation is a managed construction project that requires the same discipline as any larger remodel.
First-timers often underestimate this complexity because bathrooms look simple. The reality is that most of the critical work is hidden: inside walls, under the floor slab, and above the ceiling. Decisions made before a single tile is purchased will determine whether your project comes in on time and within budget - or becomes a costly lesson in sequencing.
Rough plumbing
The stage of plumbing work where supply and drain pipes are installed inside walls and floors, before walls are closed. This work must pass inspection before walls are sealed.
Waterproofing membrane
A moisture barrier applied to surfaces in wet areas (shower walls, shower pan) before tile is installed. It prevents water from penetrating the wall structure and causing rot or mold.
Cement board
A rigid backer panel made from cement and fiber that is installed over studs in wet areas. Unlike drywall, it does not degrade when exposed to moisture.
Trade sequence
The established order in which different contractors (plumber, electrician, tile setter, etc.) must work on a project. Each trade typically depends on the previous one completing or passing inspection.
Contingency budget
A reserved portion of your project budget - typically 15-20% - set aside for unexpected costs such as hidden damage, code upgrades, or scope changes discovered during the project.
Gut renovation
A complete remodel in which everything is removed down to the structural studs and subfloor, allowing full replacement of plumbing, electrical, and all finishes.
Setting Your Scope and Budget
Before choosing fixtures or finishes, define exactly what you are and aren't changing. Renovation scope typically falls into three tiers:
- Cosmetic update: Paint, accessories, lighting fixtures, vanity mirror, faucet swap. No permit usually required.
- Partial renovation: New vanity, toilet, tub or shower surround, tile floors. May require plumbing permits if supply lines are touched.
- Full gut renovation: Everything removed to studs and subfloor. New plumbing layout, electrical, waterproofing, and all finishes. Permits almost always required.
Once scope is clear, build your budget with a 15-20% contingency. Hidden water damage, out-of-code wiring, or asbestos-containing materials in older homes are common discoveries that expand scope mid-project. Our overview of hidden renovation costs - though focused on kitchens - covers surprises equally relevant to bathroom projects. If you're still determining how to fund the work, a general review of home improvement financing options can help you understand the landscape before committing.
Build Your Budget Before Choosing Finishes
Many first-timers start by selecting tile and fixtures before establishing a realistic overall budget. This leads to scope creep when labor and permit costs arrive. Set your total budget and allocate labor costs first - typically 40-60% of a full renovation - then work backward to what you can spend on materials.
Layout Decisions and What Changes Them
The single most expensive decision in a bathroom remodel is whether to move plumbing fixtures. Toilets, showers, and tubs drain through the floor into drain lines with specific slope requirements. Moving a toilet even 12 inches can require rerouting drain pipes - a significant labor cost that balloons fast in homes with concrete slab foundations.
A useful rule of thumb: keep fixtures close to their current drain locations unless there is a compelling functional reason to move them. If you do want to reconfigure the layout, have a licensed plumber assess feasibility and provide a detailed estimate before finalizing any design decisions.
Consider these layout factors early:
- Ventilation: Building codes require exhaust fans in bathrooms without operable windows. Fan placement affects ceiling and electrical work.
- Clearances: Code-mandated clearances around toilets, vanities, and shower doors affect what fits in the space.
- Door swing: Changing a door swing or adding a pocket door may require framing modifications.
Understanding the Trade Sequence
Trade sequence - the order in which different contractors work - is the most misunderstood part of any renovation. In a bathroom, the general order runs: demolition → rough plumbing → rough electrical → framing or structural repairs → inspections → waterproofing → cement board or backer → tile → fixtures and finish plumbing → finish electrical → painting and trim.
Each step depends on the previous one passing inspection or being complete before the next trade enters. Tiling over an uninspected waterproofing membrane, for instance, can result in a failed inspection requiring tile removal. Getting this wrong is expensive. Our dedicated guide on renovation trade sequencing explains the logic behind each stage in detail - required reading before you schedule any contractors.
Never Skip the Waterproofing Inspection
Tiling directly over an unverified waterproofing membrane is one of the most common and costly mistakes in bathroom renovation. If water penetrates behind tile, it can cause structural rot, mold, and the need to remove all the tile to remediate. Follow your jurisdiction's inspection process before any tile goes up in wet areas.
Permits, Inspections, and Professional Help
Permits exist to protect you. An inspector verifying your plumbing and electrical work provides documentation that the work was done to code - which matters at resale, for homeowner's insurance, and for your own safety. Unpermitted work discovered during a home sale can delay closing or require costly remediation.
Contact your local building department (or your municipality's online portal) to determine which aspects of your planned remodel require permits. Requirements vary widely by location and scope. When in doubt, ask - building departments are generally helpful to homeowners who call with specific questions.
When hiring professionals, get at least three itemized bids, verify each contractor holds the appropriate license and carries liability and workers' compensation insurance, and check references. Our detailed checklist of questions to ask a contractor before signing any agreement provides a structured framework for this vetting process.
Even if you plan to manage much of the project yourself, most local codes require licensed plumbers and electricians for work involving supply lines, drain modifications, or new circuits. Confirm your jurisdiction's rules before committing to a DIY approach on any of those systems.
This article provides general home improvement information for educational purposes only. Always consult qualified, licensed professionals and your local building authority before undertaking renovation work, particularly any involving plumbing, electrical, or structural changes.
Frequently Asked Questions

Author
Home & Garden Editorial Team
Home & Garden Editorial Team is the collective byline for our editorial team and contributor network. Articles published under this byline or an editorial pen name are researched, written, and reviewed according to our editorial standards for clarity, consistency, and independence before publication.
View all articles →