
Composting at Home: From Kitchen Scraps to Garden Gold
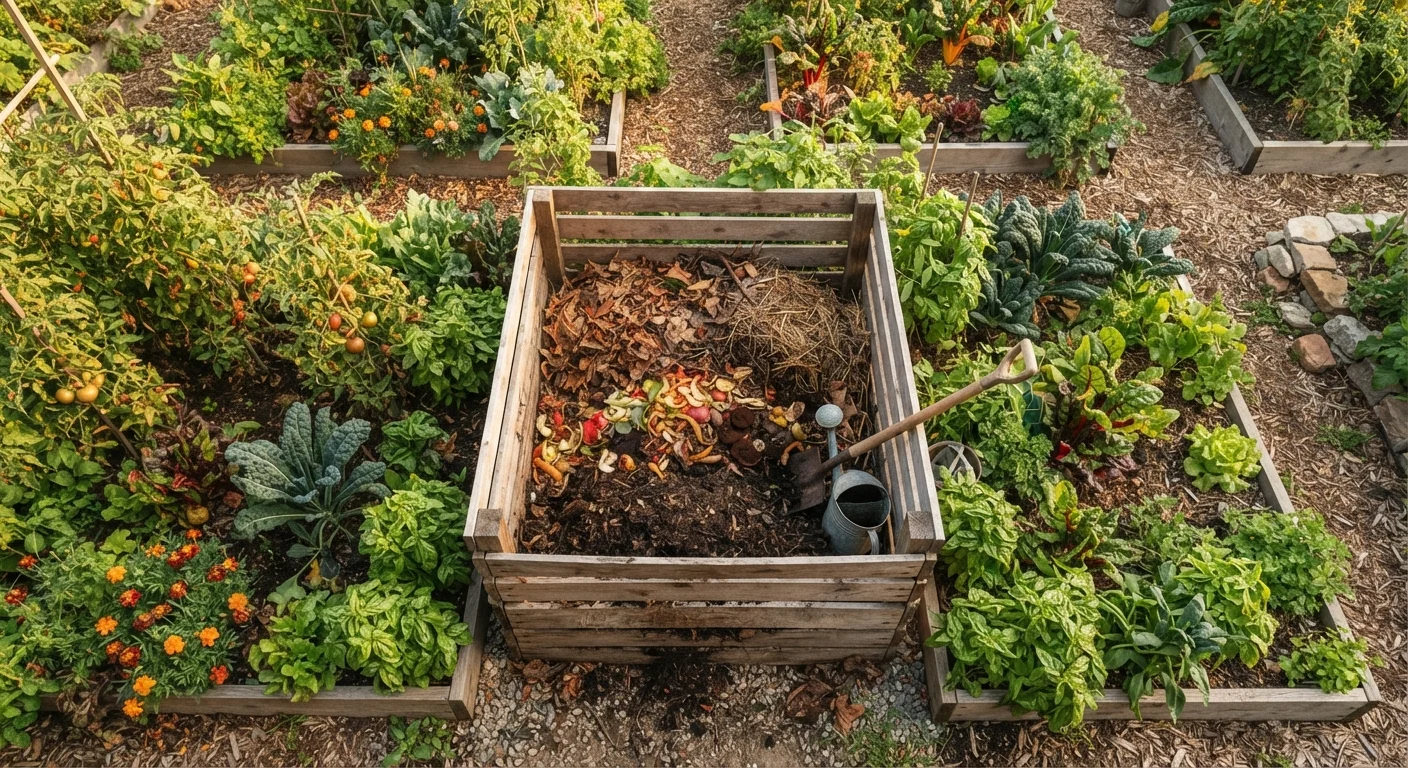
Photo credit: FaqsInsights.com | Stay Informed, Stay Ahead
Step-by-step guidance on setting up a compost system, balancing greens and browns, and knowing when your compost is ready to use.
Key Takeaways
- Successful composting requires balancing nitrogen-rich greens with carbon-rich browns in roughly a 1:3 ratio.
- Your compost bin location, moisture level, and aeration frequency all significantly affect how quickly materials break down.
- Finished compost smells earthy, looks dark and crumbly, and is ready to enrich garden beds and containers.
- Common composting problems like odor and pests have straightforward fixes once you identify the cause.
- Even small-space gardeners can compost effectively using compact bins or indoor worm systems.
Why Composting Belongs in Your Garden Routine
Compost is often called garden gold for good reason. When worked into soil, it improves drainage in heavy clay soils, increases moisture retention in sandy soils, and delivers a slow, balanced supply of nutrients that supports plant growth without the risk of chemical fertilizer burn. It also feeds the microorganisms, earthworms, and fungi that make soil genuinely alive and productive.
Beyond soil health, composting keeps organic material out of landfills - where it would decompose without oxygen and release methane, a potent greenhouse gas. For gardeners thinking about the full picture, it's one of the most impactful habits you can adopt.
Whether you're setting up a vegetable garden for the first time or expanding an established growing space, adding compost-enriched soil sets you up for stronger harvests and more resilient plants. It also pairs naturally with garden mulching practices to create a low-input, high-output approach to soil care.
Never Compost These Materials
Meat, fish, dairy products, oils, and cooked foods attract pests and can create harmful pathogens in a standard home compost pile. Dog and cat waste should also be kept out, as it may contain parasites. Diseased plant material and invasive weeds that have gone to seed can spread problems back into your garden when you apply the finished compost.
Setting Up and Running Your System
Getting a compost system started takes less time than most people expect. The steps below will walk you through choosing the right setup, balancing your materials, and keeping things on track - from your first pile through to your first finished batch.
What you will need
Compost bin or tumbler
Contains materials, retains heat and moisture, and keeps pests out during the decomposition process.
Pitchfork or garden fork
Used to turn and aerate the pile, which introduces oxygen and speeds up decomposition.
Kitchen compost pail or countertop container
Collects food scraps between trips to the outdoor bin so you're not making multiple daily trips.
Compost thermometer
Measures internal pile temperature to confirm active decomposition is occurring (target: 130-160°F).
Garden hose or watering can
Used to add moisture when the pile becomes too dry to support microbial activity.
Choose your composting method and location
Select a composting system that fits your space and lifestyle. A simple open pile or wooden bin works well for larger yards. A tumbler is cleaner and faster for smaller spaces. For apartment dwellers or those with no outdoor access, a worm bin (vermicomposting) works indoors with minimal odor.
For outdoor systems, position your bin in a spot that's convenient to reach from the kitchen, has partial shade to prevent drying out, and sits directly on soil so earthworms and beneficial organisms can migrate in.
Understand and gather your greens and browns
Greens are nitrogen-rich materials that feed the microorganisms doing the decomposition work. These include fruit and vegetable peels, coffee grounds and filters, fresh grass clippings, and plant trimmings.
Browns are carbon-rich materials that provide structure and prevent the pile from compacting into an airless mass. These include dry leaves, cardboard torn into pieces, newspaper, straw, and wood chips.
Aim for roughly 1 part greens to 3 parts browns by volume. This ratio keeps the pile active without becoming smelly or matted.
Build your initial pile in layers
Start with a 4-6 inch base layer of coarse brown material - wood chips or straw work well - to allow airflow at the bottom. Add a layer of greens, then cover with another layer of browns. Lightly moisten each layer as you build if the materials feel very dry.
An ideal starting pile is at least 3 feet wide and 3 feet tall. Smaller piles struggle to generate the internal heat needed to break down materials efficiently.
Maintain moisture and aerate regularly
Check the pile's moisture level every week or two. It should feel like a wrung-out sponge throughout. Add water during dry spells, and incorporate dry browns if the pile feels soggy.
Turn the pile with a pitchfork every 1-2 weeks to introduce oxygen. This is the single most effective way to speed up decomposition. Move material from the outer edges toward the center, where temperatures are highest.
[warning_callout]Troubleshoot common problems
If your pile smells like ammonia, it has too many greens - add more browns and turn it. A rotten egg smell means the pile is anaerobic; turn it thoroughly and check drainage. If the pile isn't heating up, it may be too dry, too small, or low on nitrogen - add water or fresh green material.
Pests are usually a sign that food scraps are exposed on the surface. Bury additions deeply and consider switching to a lidded bin.
Recognize when your compost is finished
Finished compost looks dark brown to black, has a crumbly, soil-like texture, and smells earthy - similar to a forest floor after rain. You should not be able to identify any of the original input materials. This process typically takes 2-6 months depending on your climate, the size of the pile, and how frequently you turn it.
If parts of the pile are still recognizable, simply sift out the finished material from the bottom of the pile and return the unfinished portions to continue breaking down.
Speed Things Up with a Simple Trick
Chopping or shredding materials before adding them to the pile dramatically increases the surface area available to microbes, which can cut your composting time in half. Running a lawn mower over fallen leaves before adding them is one of the easiest ways to accelerate the process.
Once you have a reliable supply of finished compost, you'll find uses for it throughout the garden. It can be worked into planting holes, spread as a topdressing, or mixed into container soil - making it especially useful if you're exploring container gardening on a patio or balcony. Healthy soil biology supported by compost also tends to produce more pest-resistant plants, which complements organic pest management approaches that avoid disrupting beneficial insects.

Author
Home & Garden Editorial Team
Home & Garden Editorial Team is the collective byline for our editorial team and contributor network. Articles published under this byline or an editorial pen name are researched, written, and reviewed according to our editorial standards for clarity, consistency, and independence before publication.
View all articles →